
Photography is a great way of recording a trip and it’s practically unheard of to find a modern day traveller who isn’t sporting some form of digital camera. We take photos like there’s no tomorrow; hell there’s plenty of space on the memory card, so why not go crazy? That being said, taking a ‘good’ travel photo isn’t quite so straightforward, something I’ve frustratingly discovered during my various trips to far-flung destinations. Great material and a reasonable camera only gets you so far.
Whilst I’m certainly no pro (far from it), my photography has definitely improved over the years. With no formal training it’s been a slow process of trial and error, but the bones of it all, in my opinion, boil down to just a few simple techniques. What follows are thus my top 10 pointers for achieving a better travel photo, which, I hope, may be of some use to other travellers looking to ‘fast-track’ their photography.
- It’s All About Lighting
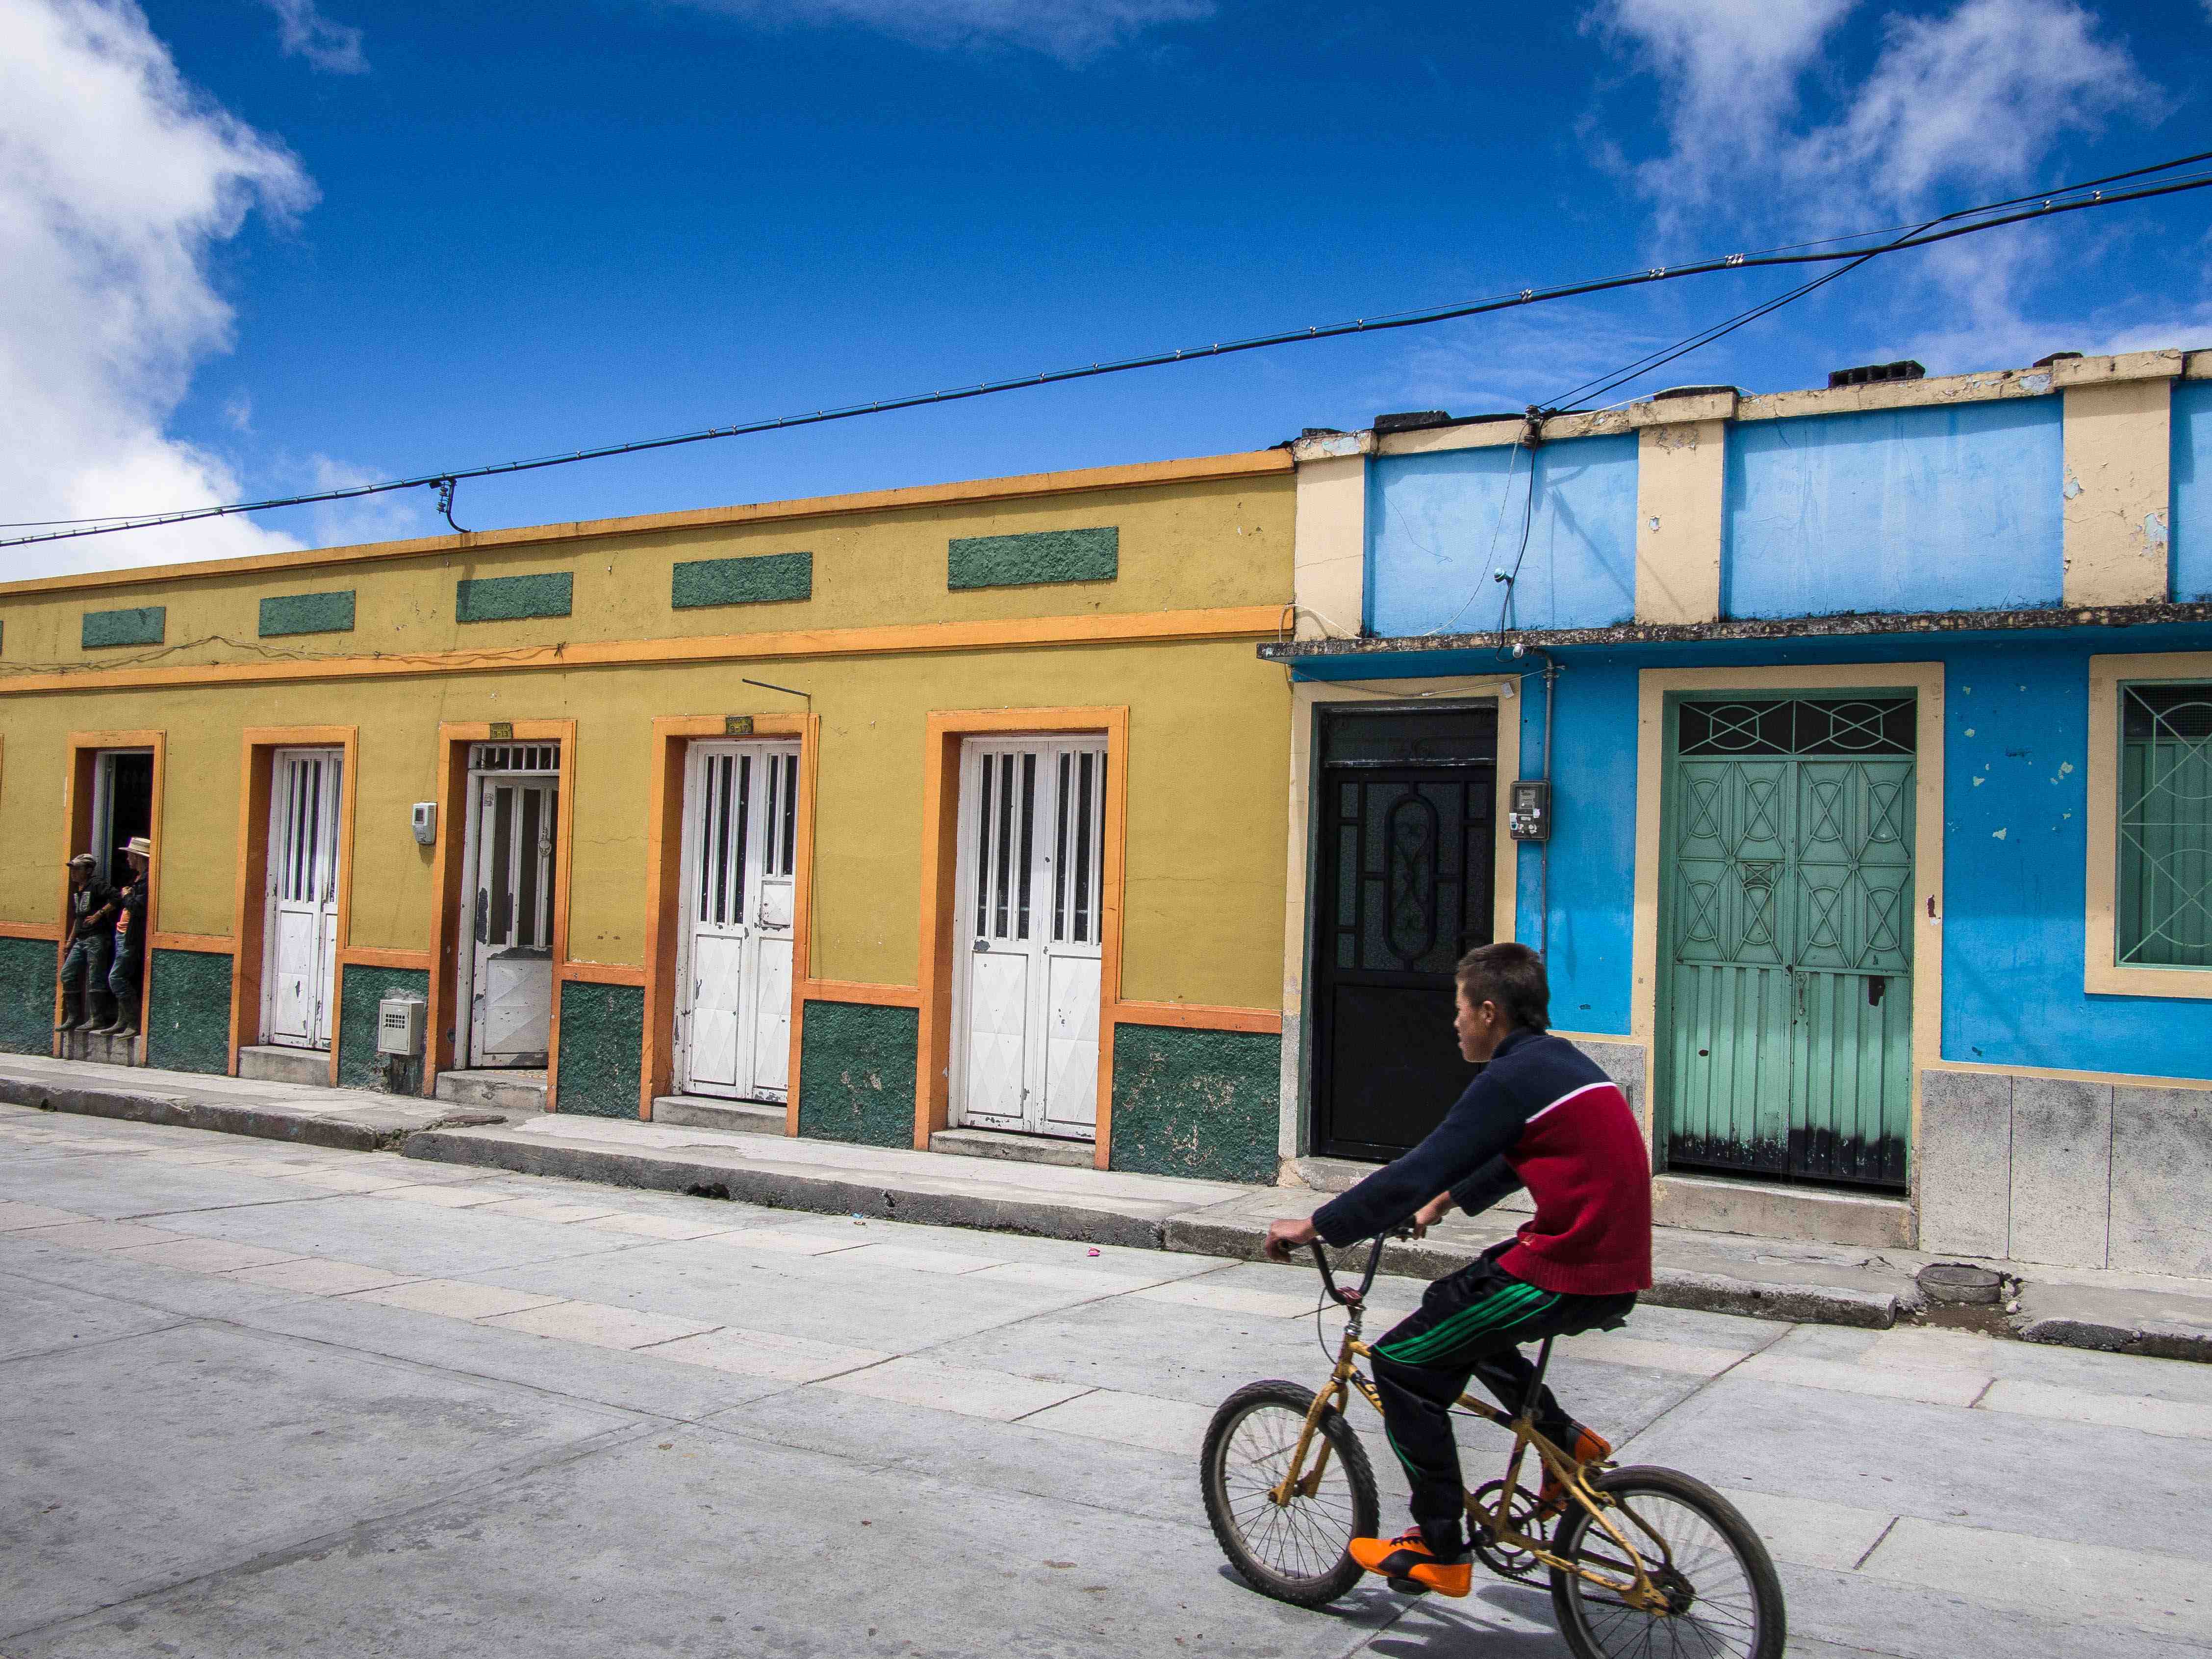
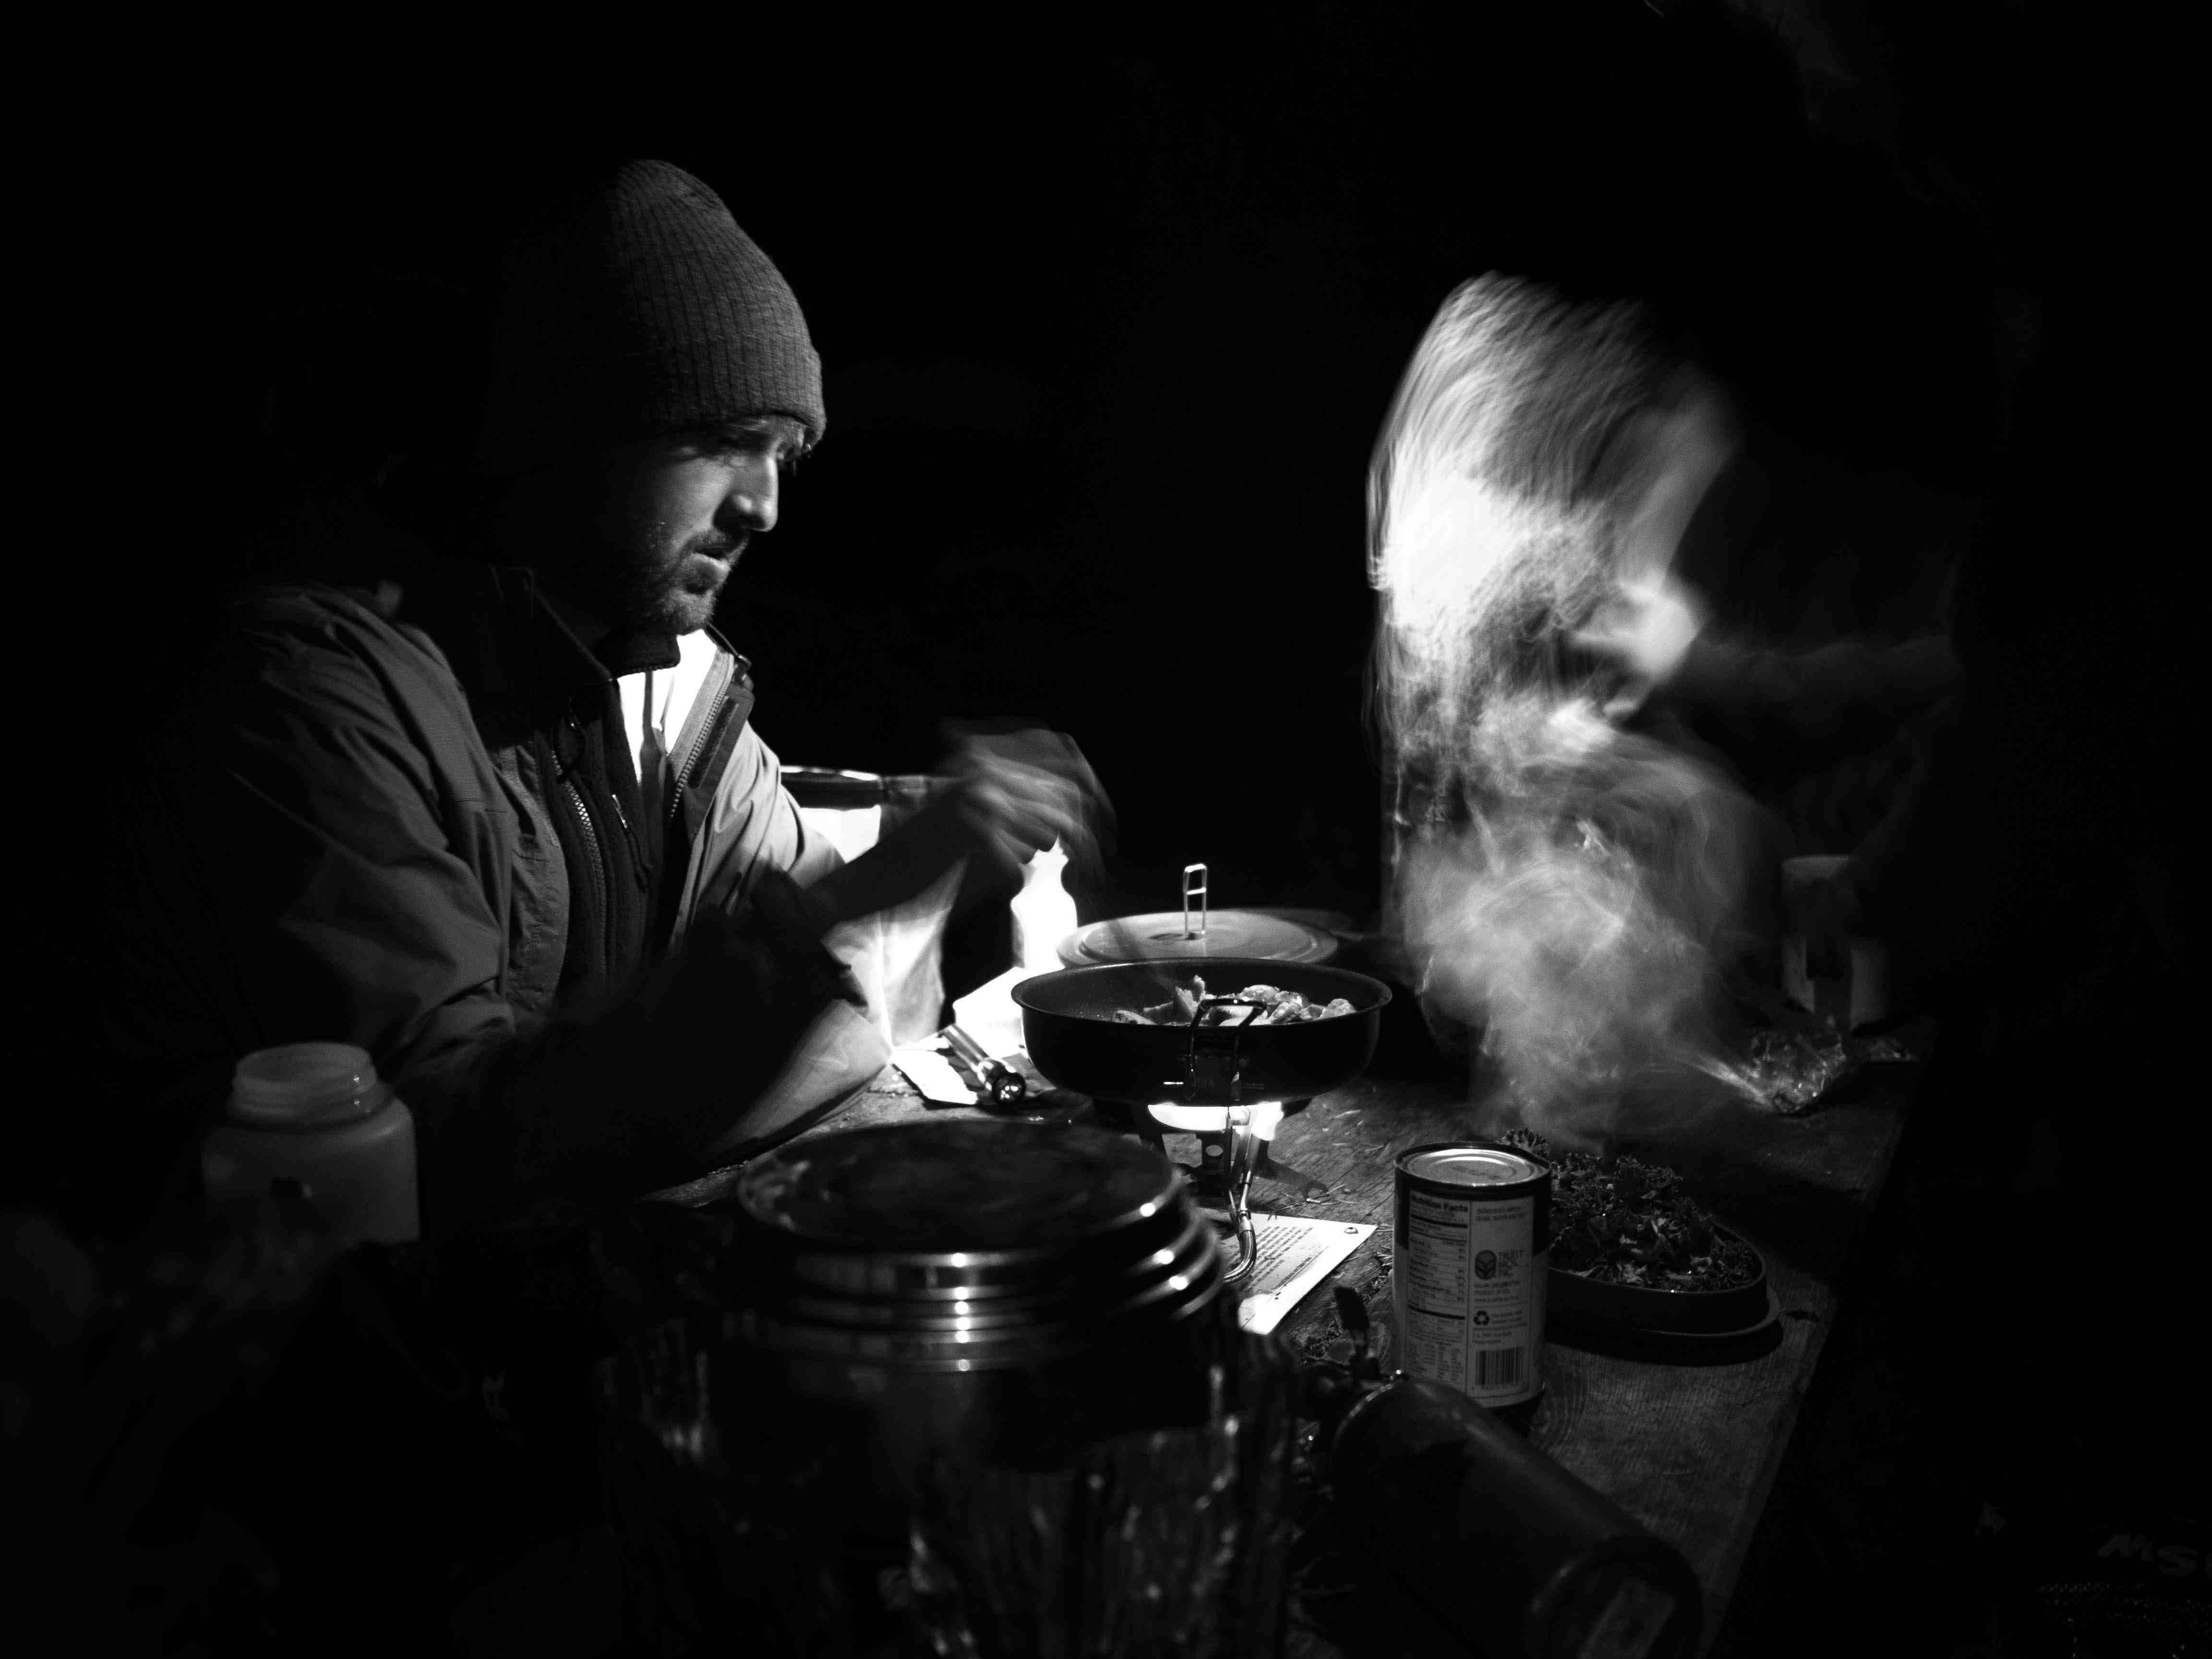
In essence cameras are devices that capture light and good lighting of a scene basically trumps anything else you can do. Good composition can’t save bad lighting. Whether shooting inside or outside, broadly speaking useable light can come from the top (the worst), front (not great) or side (the best). Most travel photos are shot during the middle of the day when the sun is high in the sky (top lit), when the light is harsh and shadows are unflattering. Front-lit scenes are marginally better, but are devoid of shadows (this can be good for portraits though). Side light is really where it’s at and is achieved during the ‘golden hours’ before dusk and after dawn. This when almost all of my reasonable outdoors shots are taken.


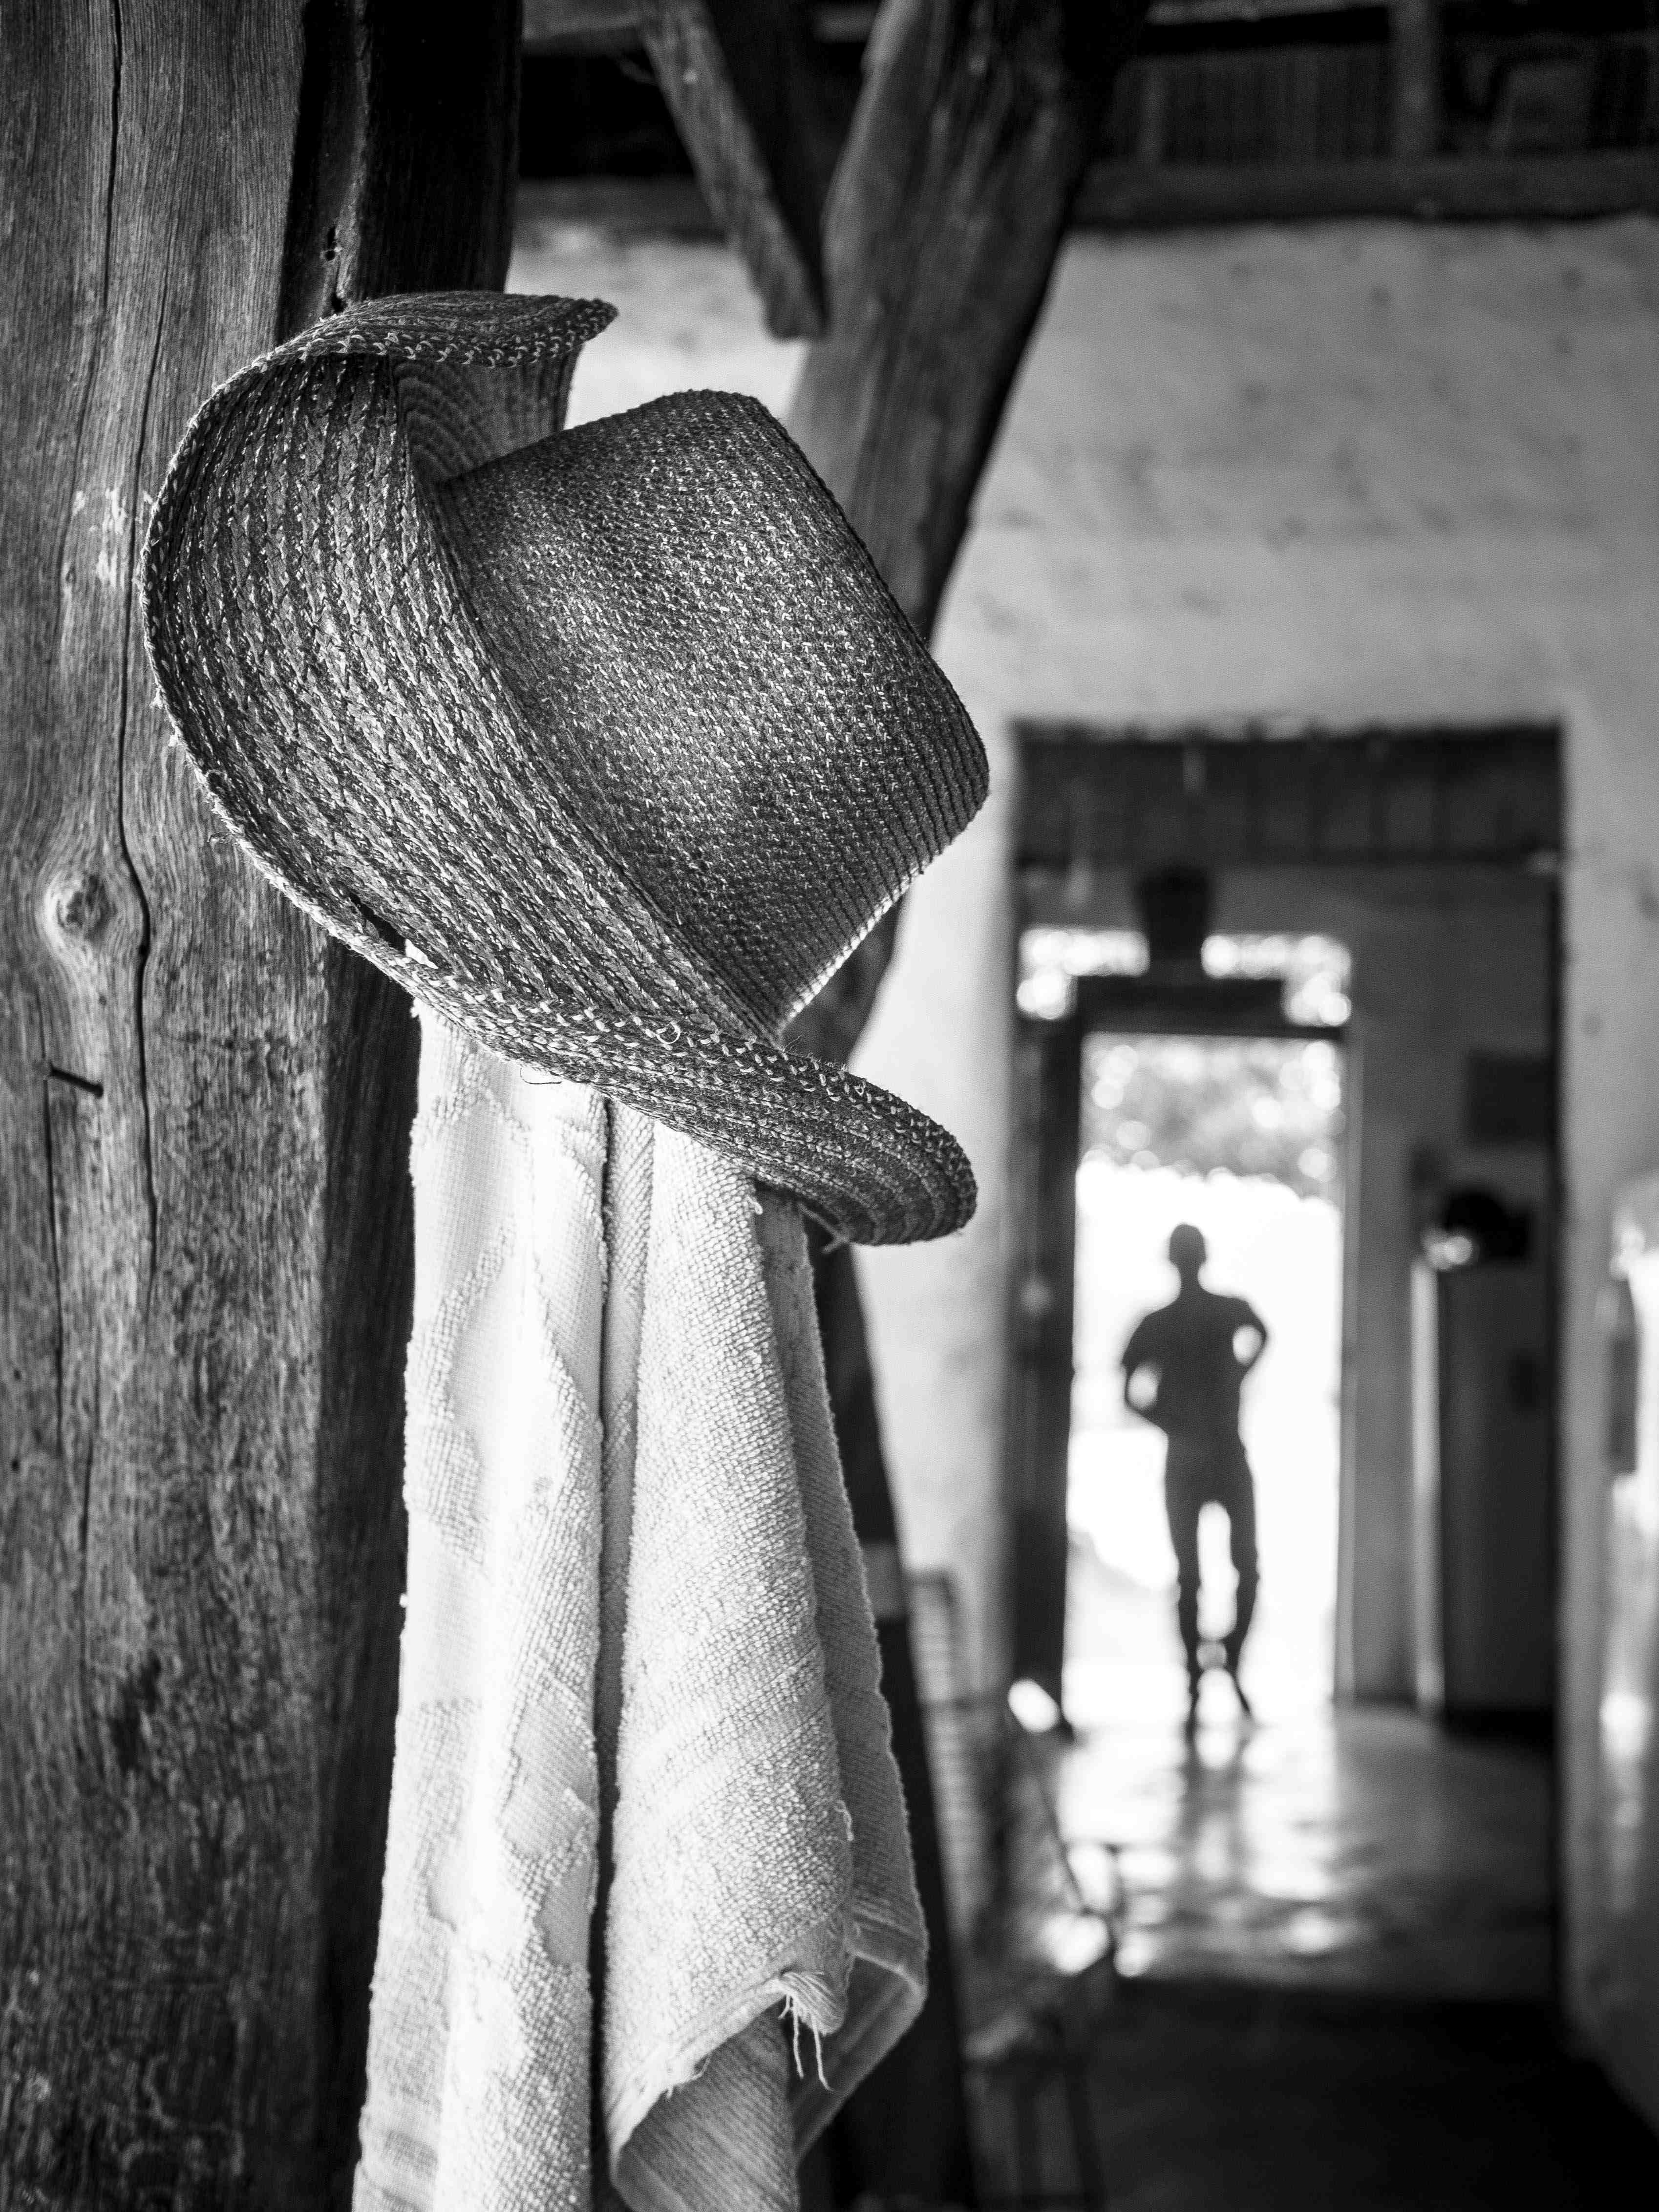
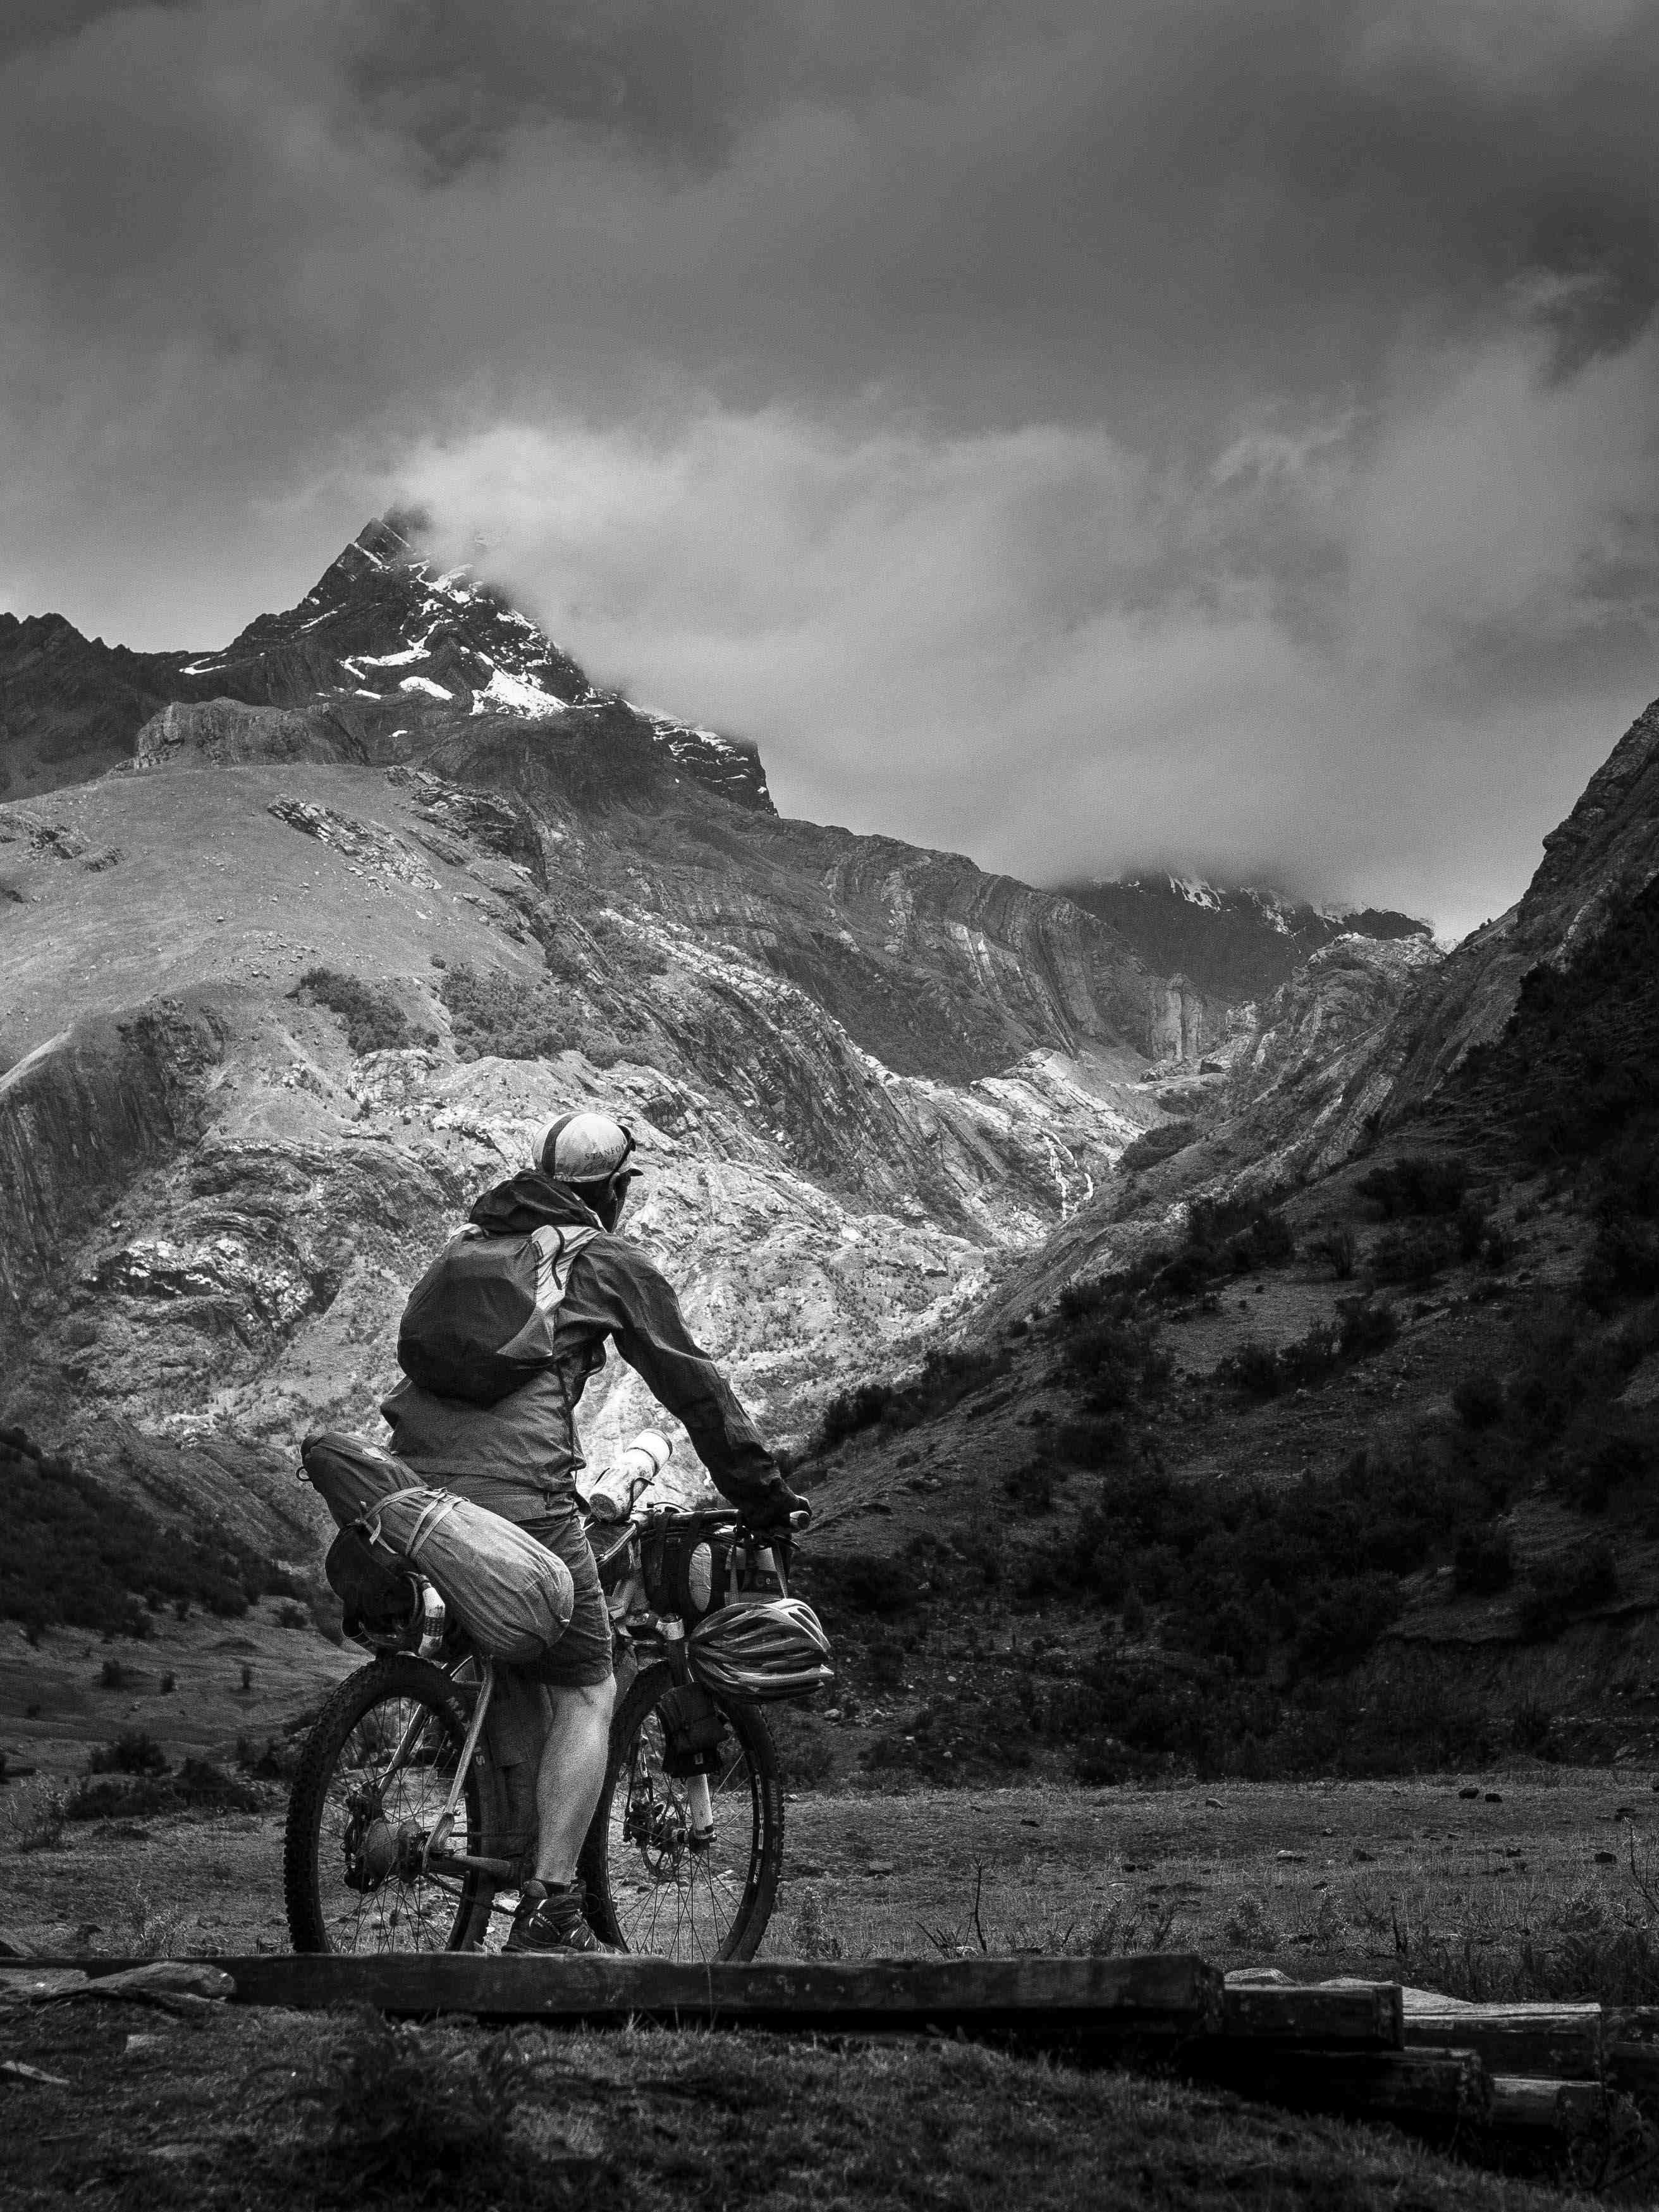
Back lighting is generally best avoided unless trying to achieve a silhouetted or interestingly lit shot, e.g:

Note: I never use a flash; it can be good for portraits if used correctly (diffused and/or bounced), but if not, generally gives harsh results.
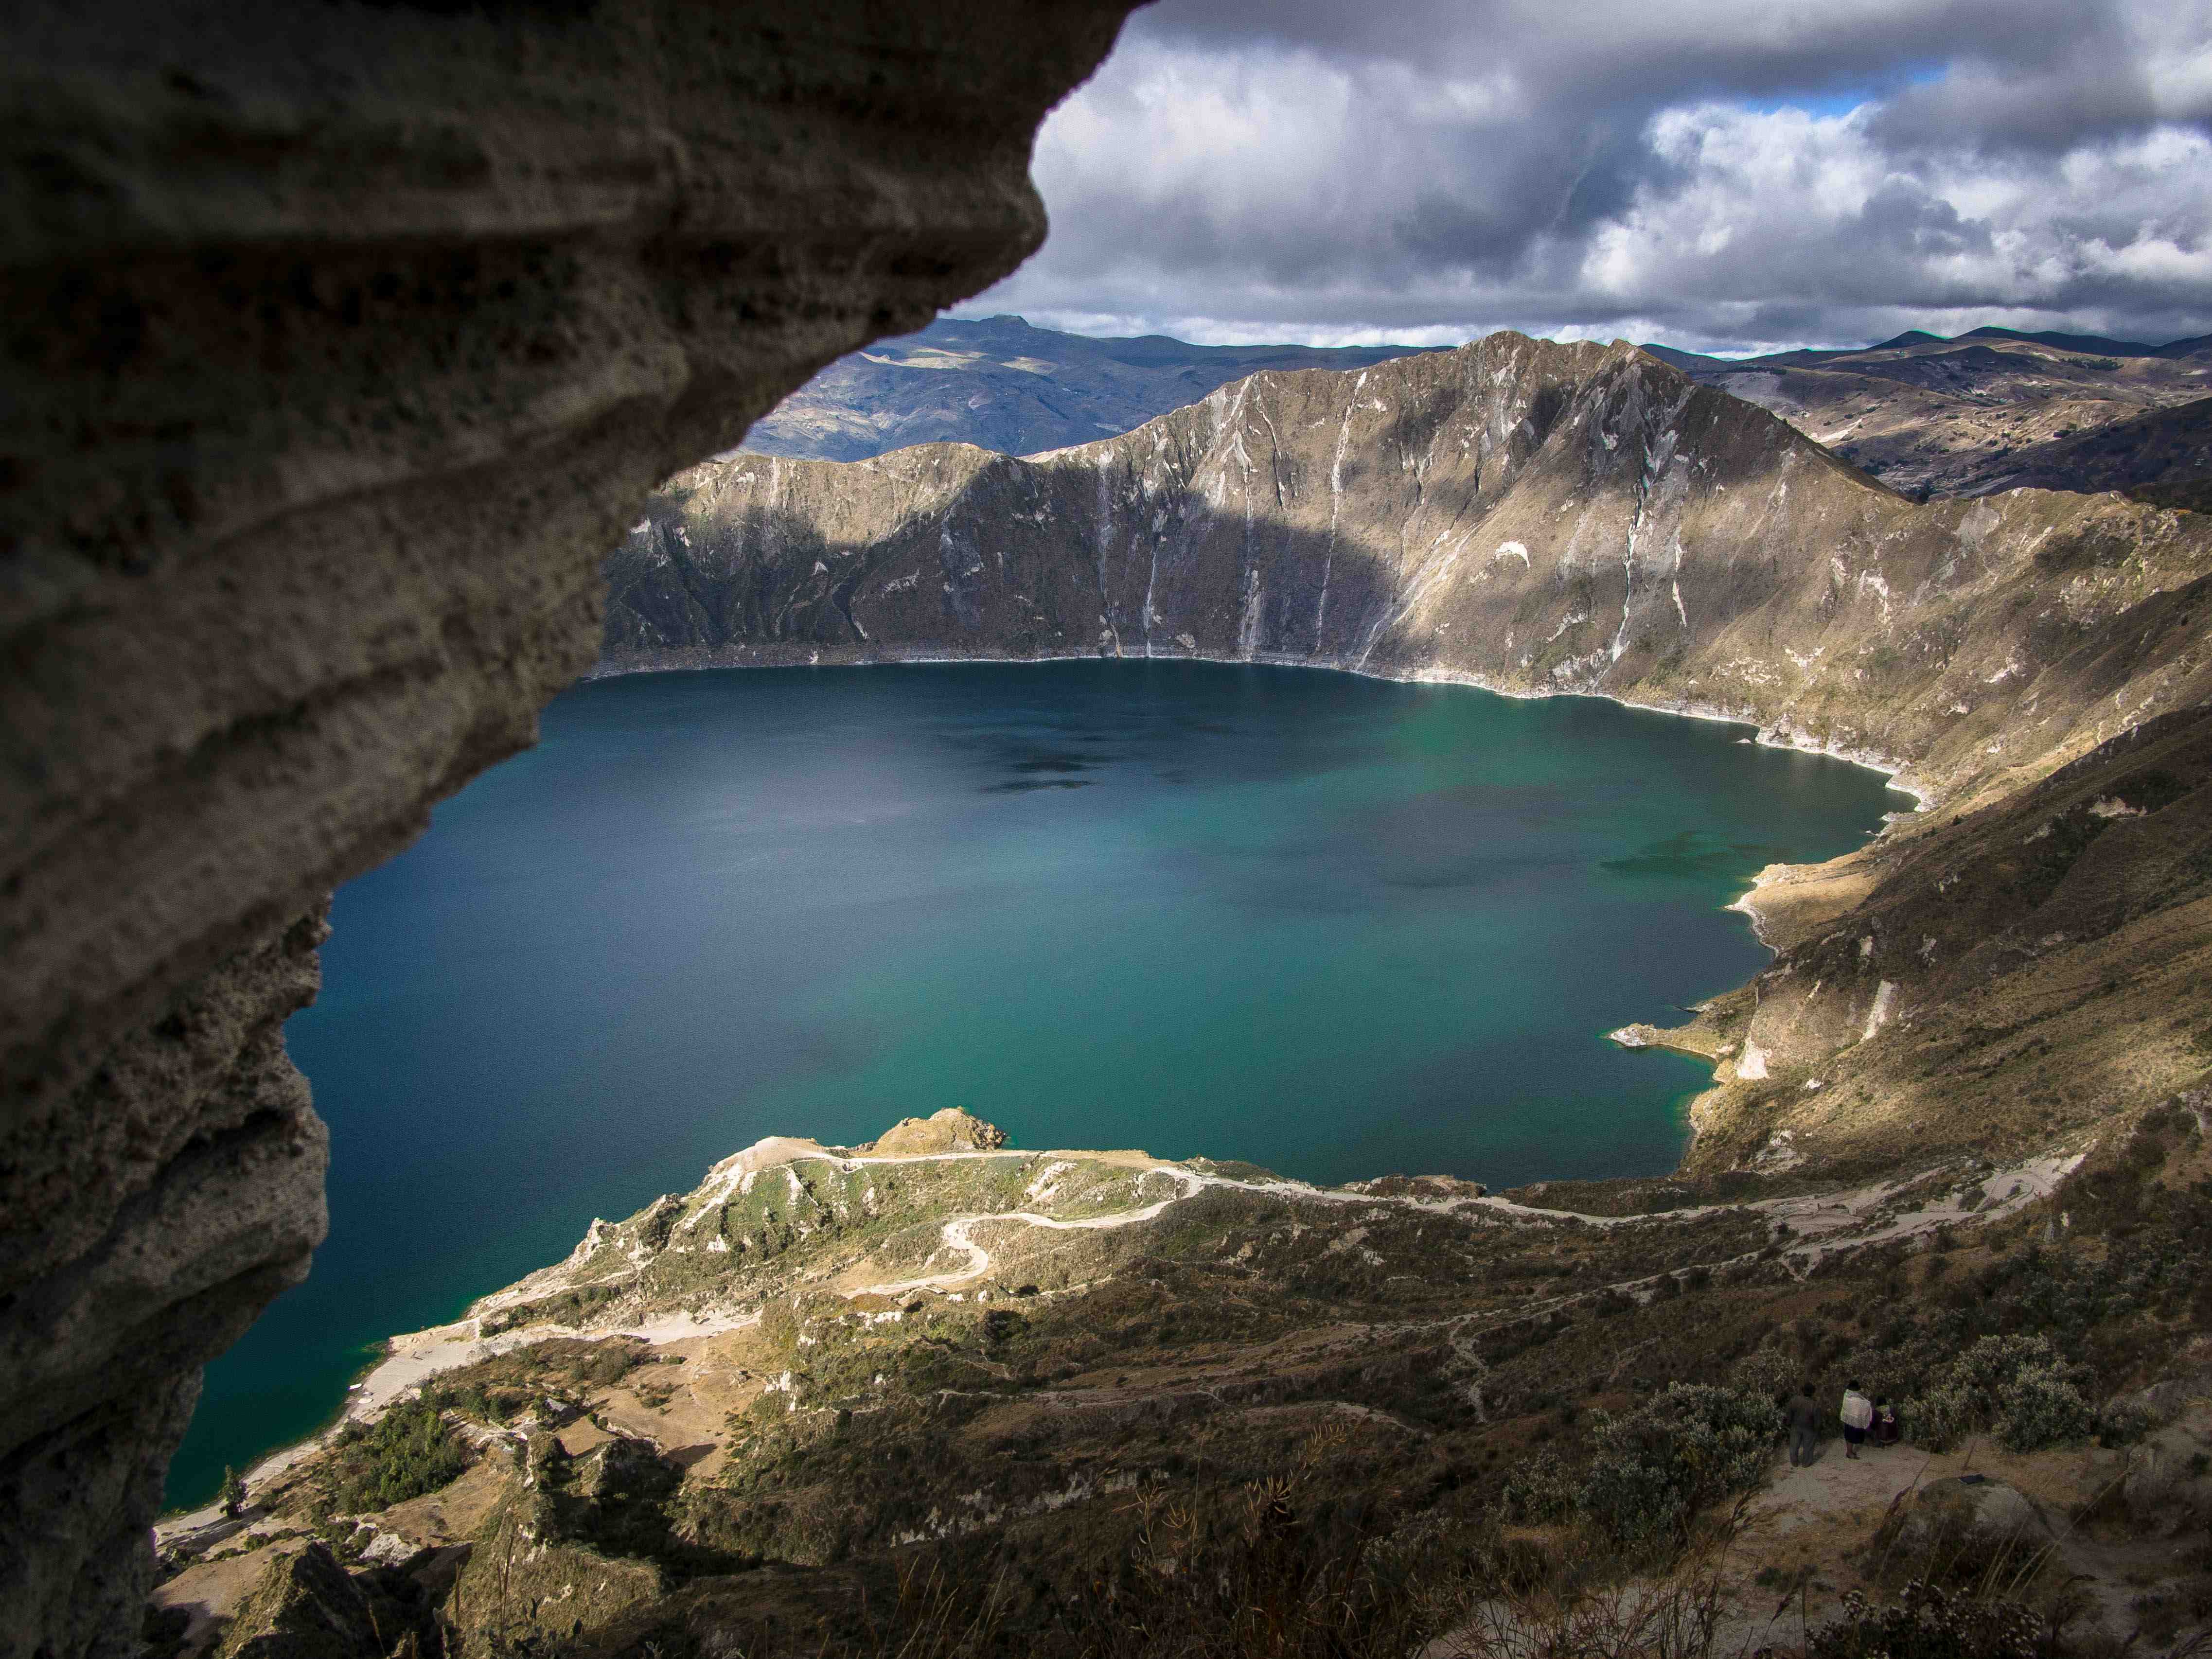
- Clear Subject
Good compositions need a clearly identifiable subject. Cluttered scenes with no real subject rarely work well. Ask yourself what your subject is and build the rest of the shot around it.
Simple compositions are often the best:

But even more involved compositions should have a primary subject, e.g. the smiling woman in the top left corner of the shot below:

3. Rule of Thirds
The fundamental rule of good composition. Keep your subject off-centre by dividing the frame into thirds in both directions and sticking it on one of the four points where these imaginary lines intersect (the “third points”).


 4. Fill the frame
Another killer composition tip. Step in and focus on part of a scene or just a single object or even part of an object. Pick out interesting details and minimise empty space. Crop down later on a computer if necessary.


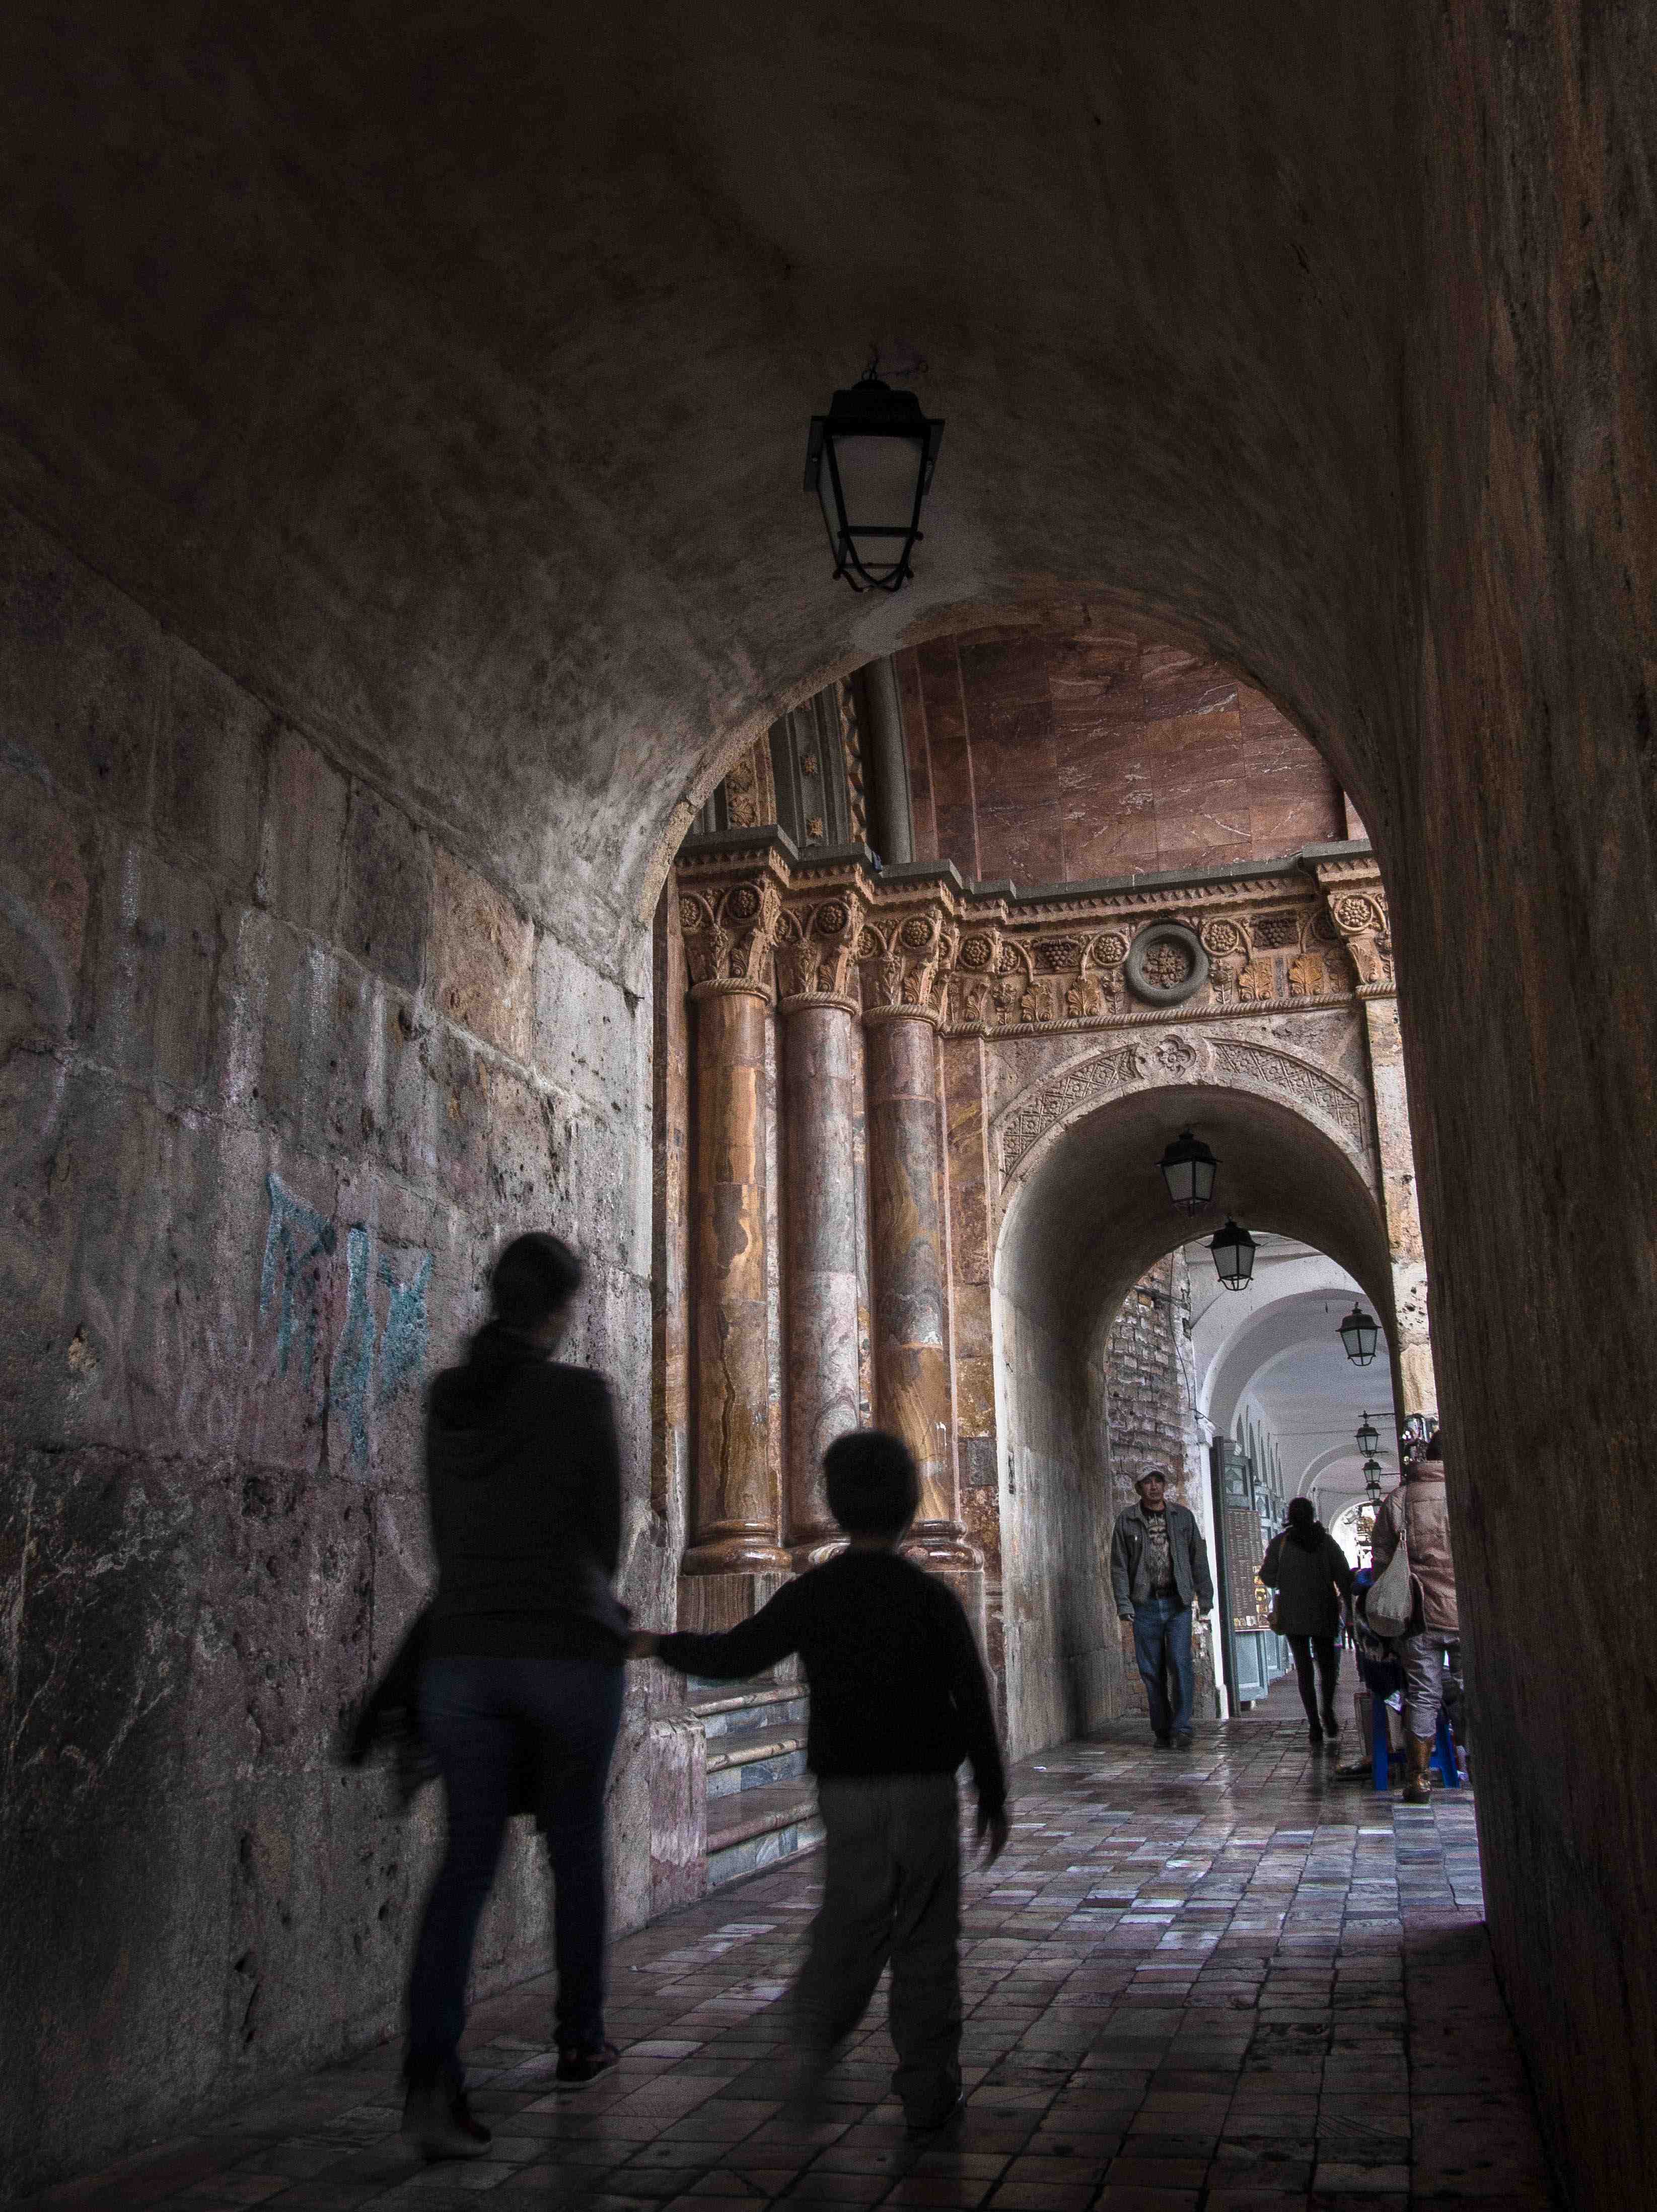
5. Leading Lines
My final composition pointer and one of the trickiest to achieve in practice. Basically you’re looking for lines (generally diagonals are best) that help lead your eye into the picture.


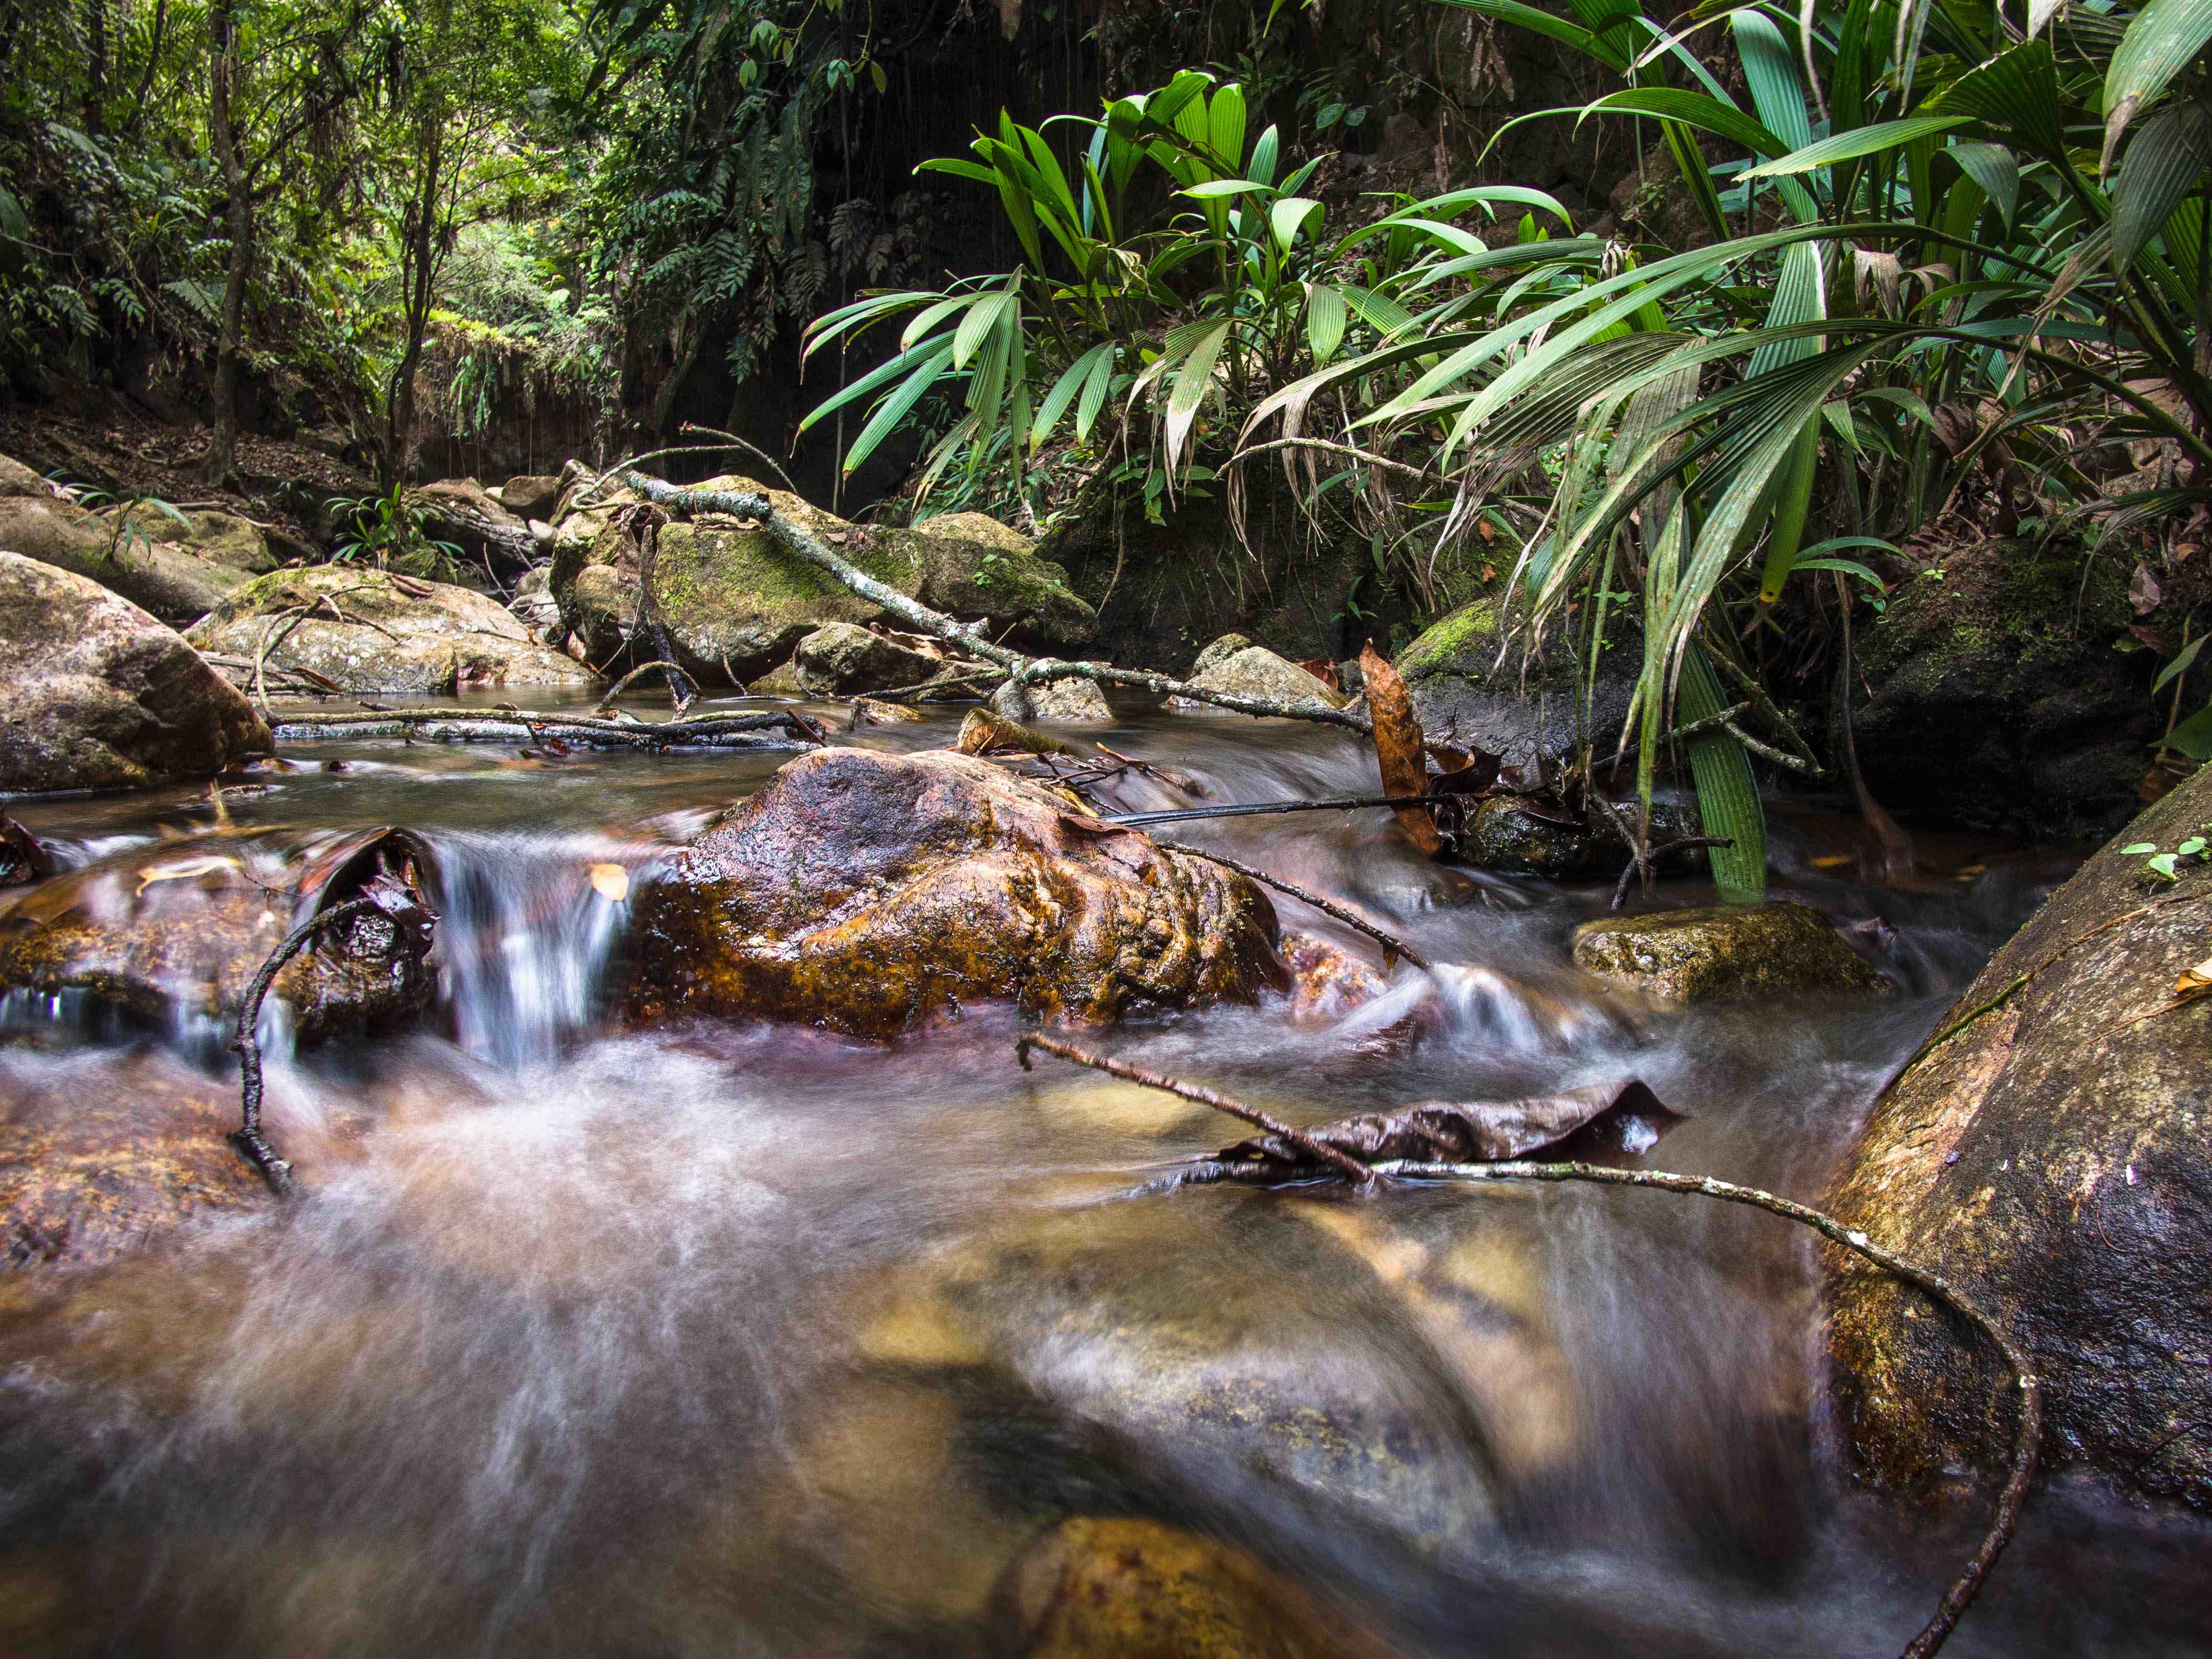
6. Depth of Field
Depth of field = how much is in focus. This is really all about controlling the aperture (and/or lens selection for SLR users) and assumes you have a camera with the ability to do this. Aperture is the size of the hole (or aperture!) letting the light in; large aperture (low f number) = large opening = shallow depth of field (i.e. only a single point is in focus with the rest blurred out).
I almost permanently shoot in ‘Aperture Priority’ mode (i.e. you set the aperture and the camera automatically selects the shutter speed) so that I can match the depth of field to the scene. Shallow depths of field are great for isolating subjects from their backgrounds (e.g. portraits), whereas wide depths of field are good for landscapes when you effectively want everything in focus.
E.g.’s of shallow depths of field:

7. Shutter Speed
Usually the only times I worry about shutter speed (the time the shutter is open for ‘collecting’ light) are when I’m trying to force a long exposure or when there’s not much light and I’m at risk of loosing sharpness through camera shake.
For handheld shots, fast shutter speeds = sharp photos, but in low light this isn’t always possible. As a general rule you shouldn’t shoot at longer than 1/50th of a second (represented as “50” on your display) without a tripod for sharp shots (although this is of course dependent on focal length/zoom being used, i.e. shooting with longer focal lengths needs a quicker shutter speed to achieve equivalent sharpness).
Occasionally I like to force long exposures (i.e. leaving the shutter open longer) using ‘Shutter Speed Priority’ mode. This works well for night shots on a tripod (or with the camera resting on something) or photos where you want to convey a sense of movement:
8 seconds
1 second

2.5 seconds
1/15th second
0.6 seconds
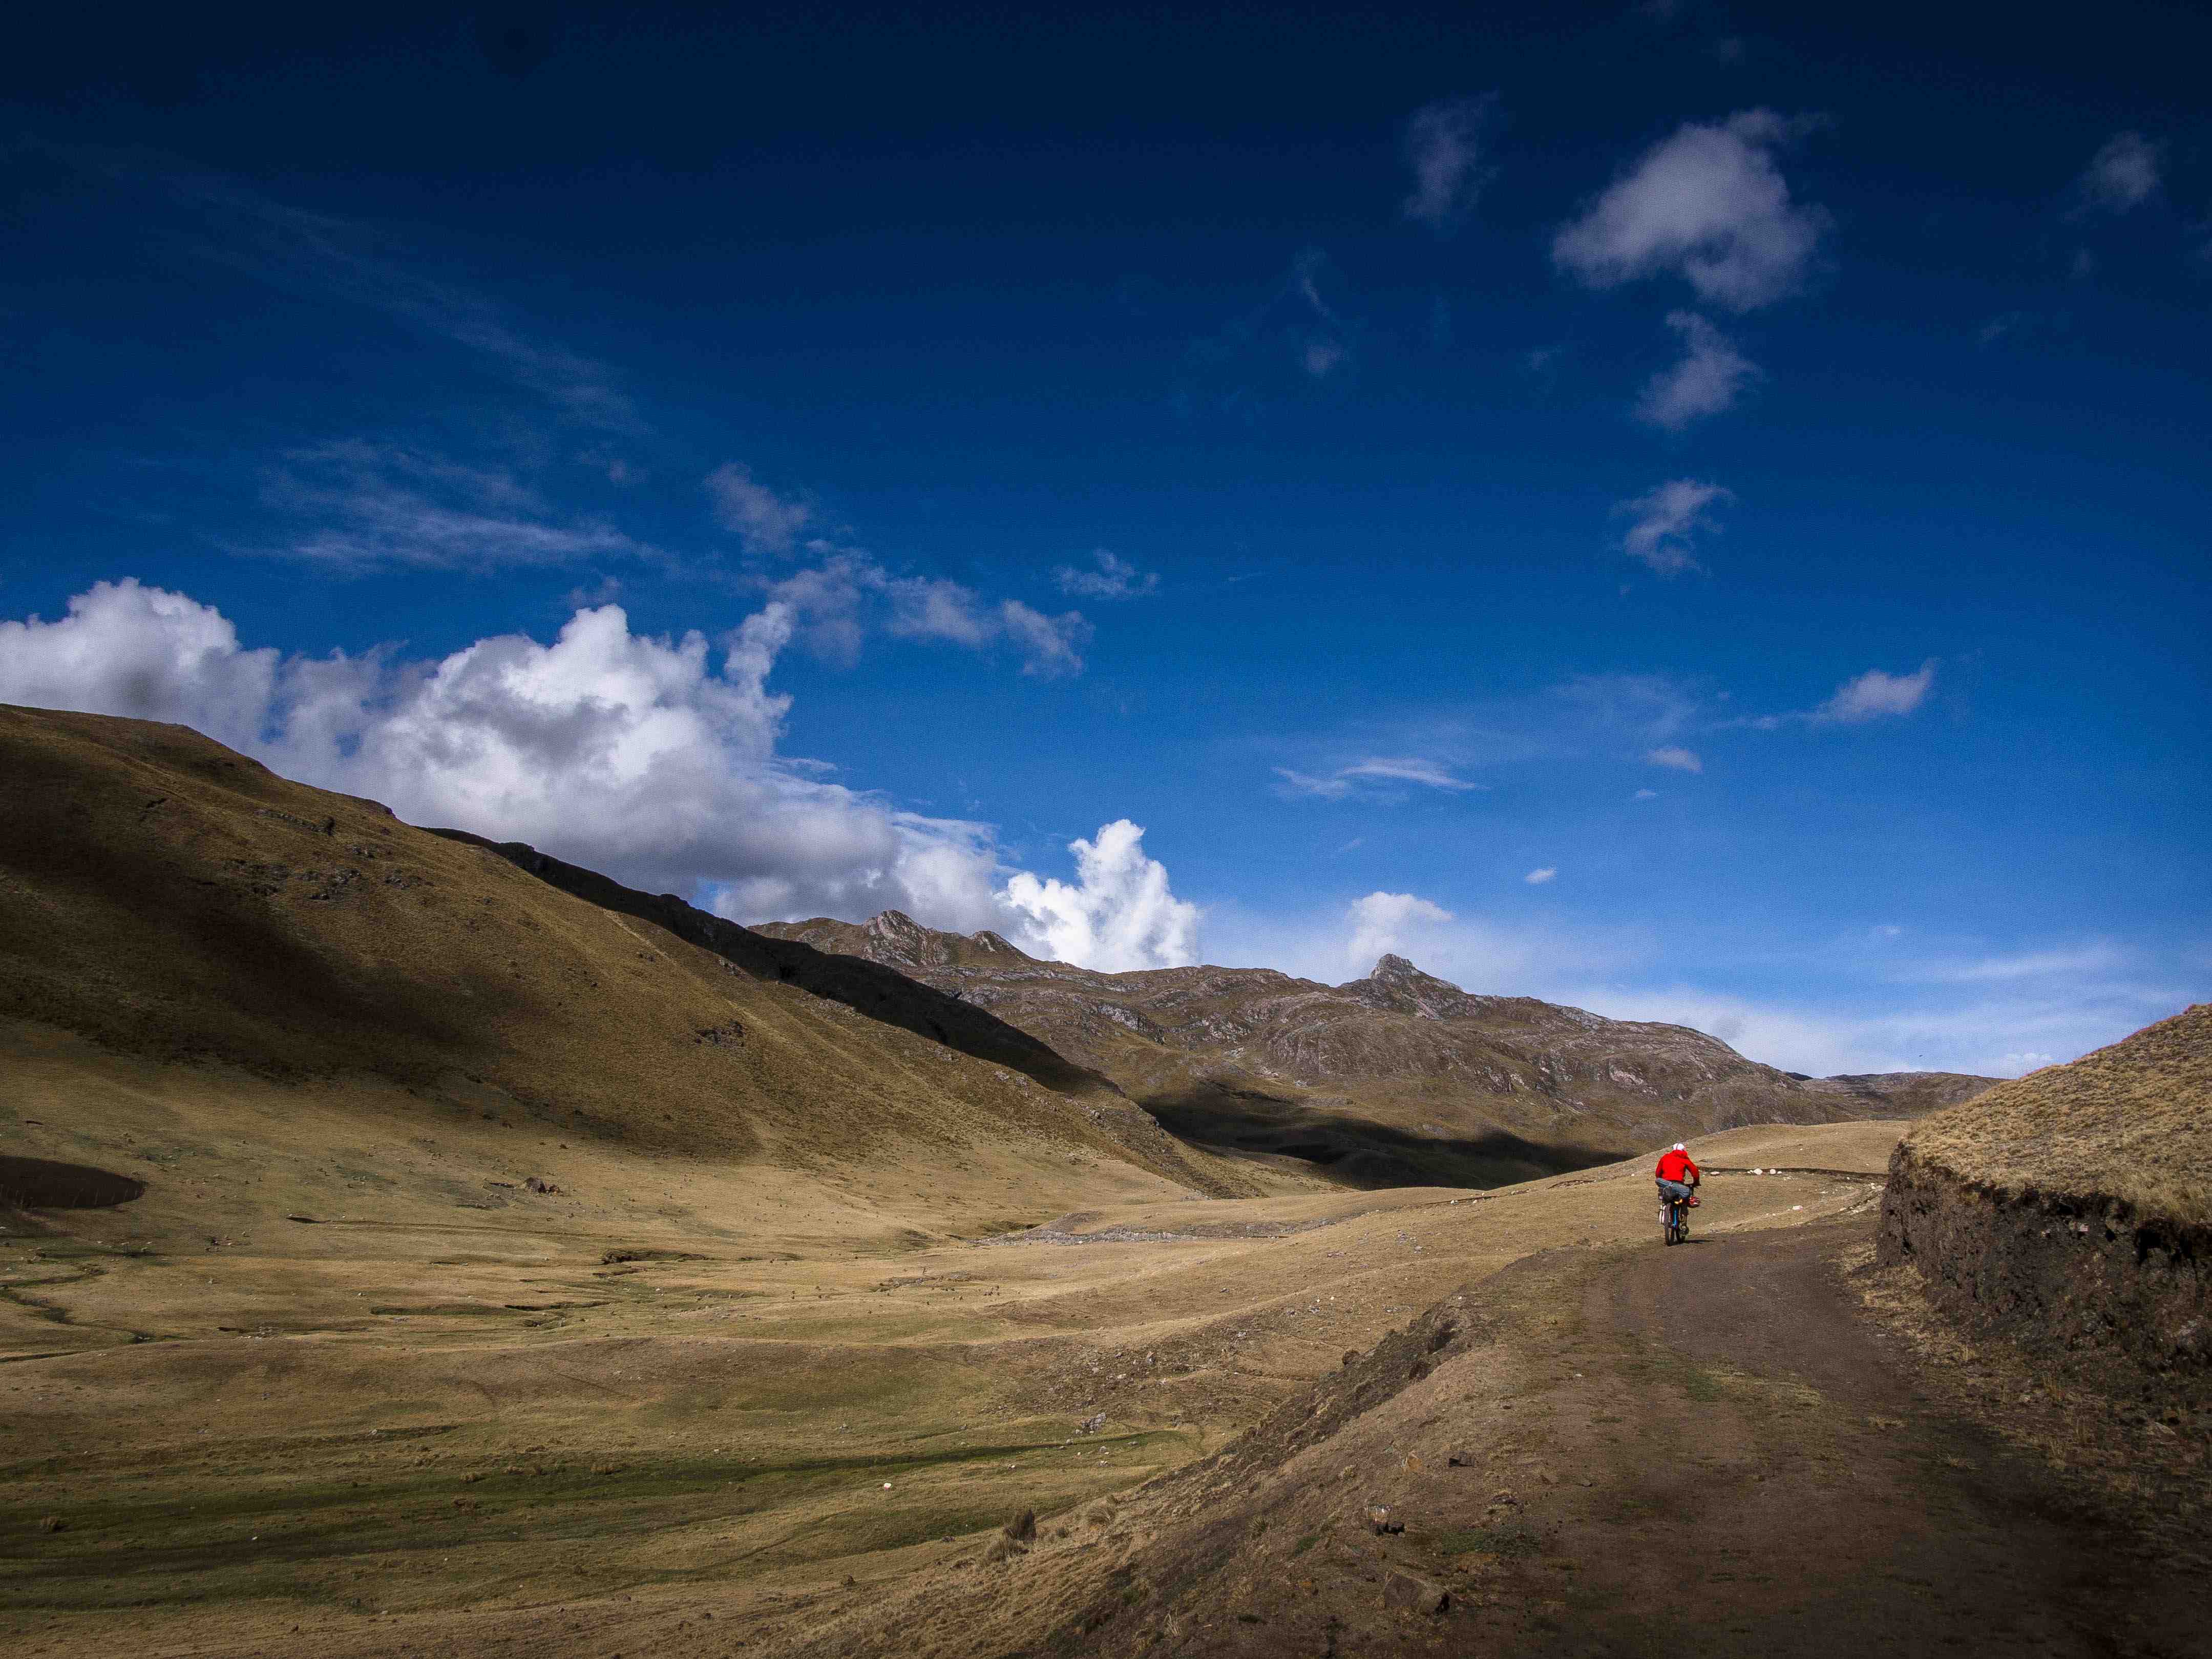
8. Nailing Landscapes
There are whole books on this, but here are my top three tips.
Find a subject (rock, tree, anything) to improve composition and lend a sense of scale to the scene. People work great – always send your friends ahead:

Add interest to the composition with foreground or creative perspectives:

Don’t just shoot wide/panorama shots; longer lenses (i.e. more zoom) compress the space between objects, which can give cool results. Fill that frame:
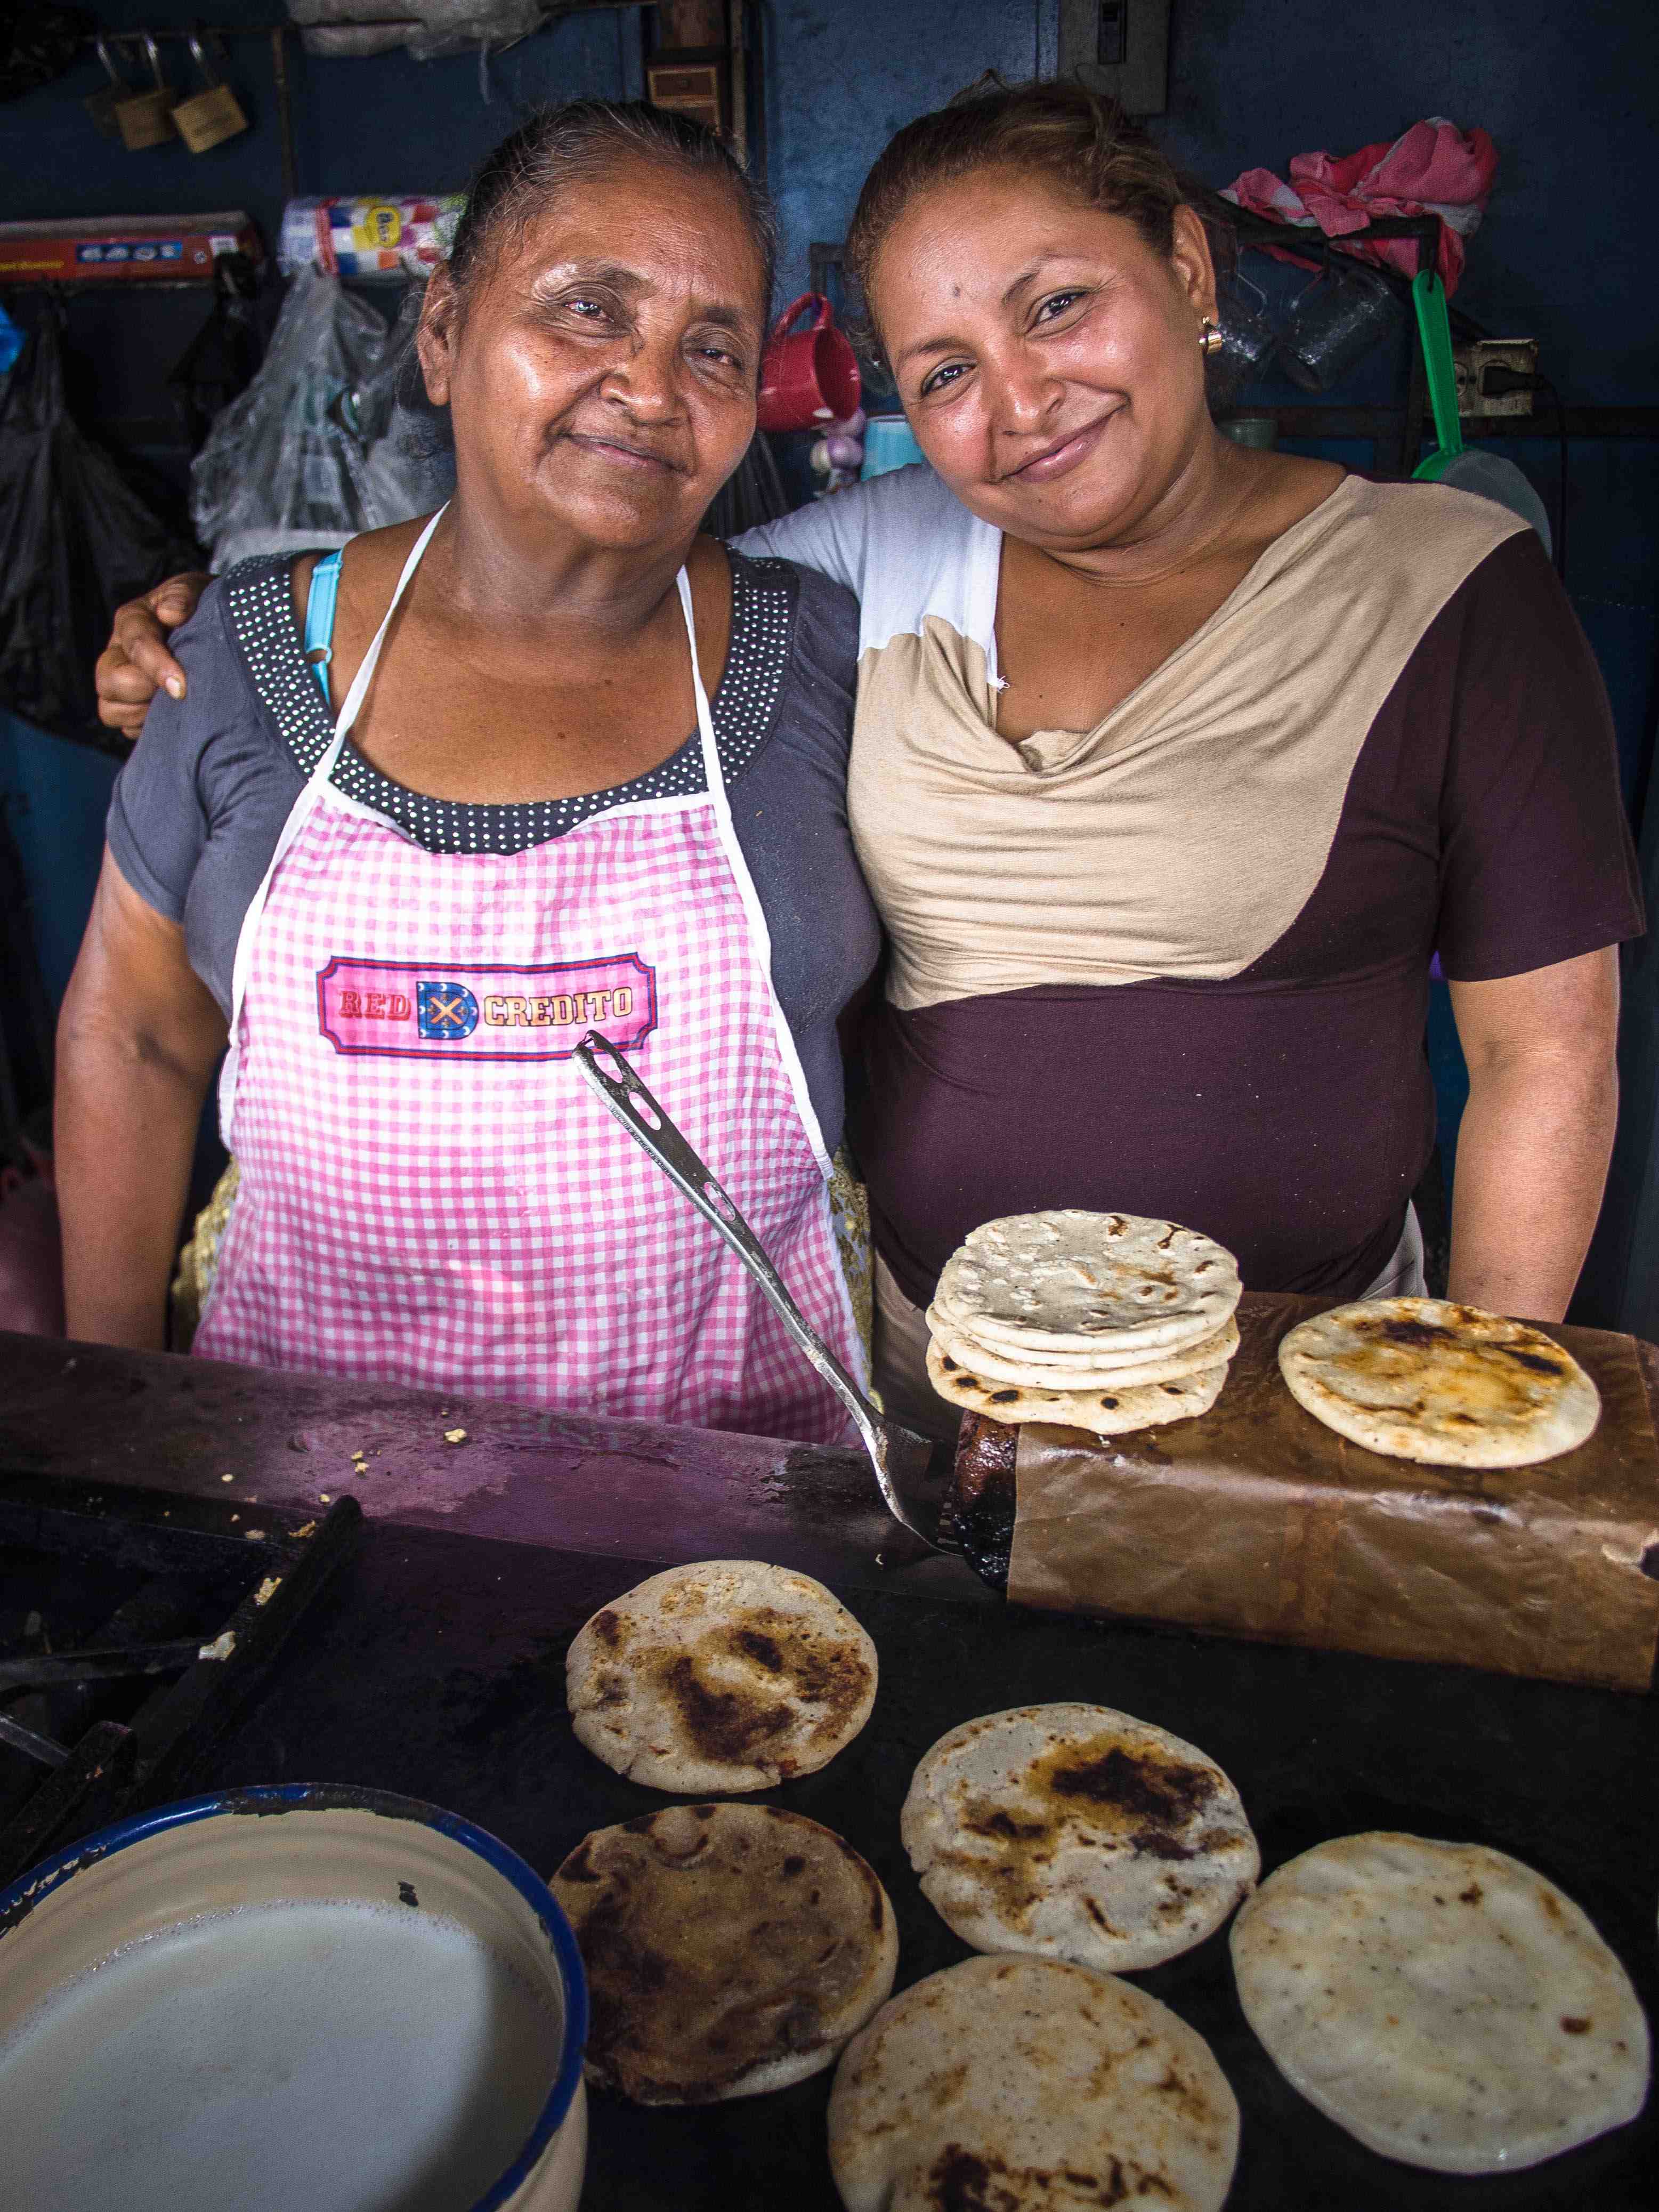
9. People
Photographing local people is something I really struggle with. As a general rule, to get a good shot of someone, ‘sniping’ them from behind a bush is unlikely to work and typically results in frustration on both sides. As such, I usually pluck up the courage to ask and more often than not they’re happy to oblige. Having said that I’ve almost always already been chatting with them beforehand, which certainly helps warm things up.


10. RAW & Post-Processing
I always shoot in RAW, which is pain for storage (typically 15Mb a file), as opposed to JPEG (2 or 3Mb a file). The reason I do this is to make the most of the post-processing/editing potential of my laptop. RAW files are a record of exactly what the camera’s sensor has captured (the whole story), but they need to be worked on and generally look quite dull without some post-processing. JPEG’s on the other hand have already been post-processed to some extent within the camera (i.e. user settings and other tweaks applied) and are intended to be the finished product. Thus if you don’t intend to post-process on a computer, don’t bother with RAW, just shoot in JPEG. Your camera may not even give you the choice.
For post-processing I, along with most, use Adobe’s Lightroom. This is an incredibly powerful program and can make all the difference to your photos. Again, there are whole books on this, but my two tips would be to firstly download and apply a Lightroom ‘preset file’ for you specific camera. This is a schedule of presets generated by some helpful chap for all the different adjustments, white balance etc, and tailored to bring out the best of the images captured by your specific camera model. These adjustments, however minute, will provide a good starting point and should already give a noticeable improvement over the plain RAW file. Secondly, use the graduated filter function to correct exposure differences, e.g. reducing the exposure of a blown out sky. The shot below was taken by my Andean rider partner, Sam H, using a point and shoot Canon G15. The first is the RAW file and the second has been tweaked in Lightroom, with graduated filters applied to correct exposure and add interest to the shot. Quite a difference I’m sure you’ll agree…

If you know someone who may find this useful feel free to share….

Great idea Paul, you certainly have taken some excellent shots! thanks
Nigel
I always have a camera everywhere I go. I usually leave the clunky DSLR at home in favor of a Leica M4-2 and 50mm lens. (In a hilarious bike crash, I bent an iPhone 5s around the edge of that camera). It fits rather well in a NewsWear small “news pouch” http://www.newswear.com/smallpdetail.htm I often use a belt/pouch system borrowed from my previous lives of a photo journalist and bike messenger, with a Chrome pouch holding bike stuff/lights and a U-lock. It gets weight off of the bike and keeps a camera safe and handy.
The point of my comment is I think the top photo looks better, more like real life. I’m not a huge fan of excessive post production, if any at all.
Otherwise, your site is wonderful and I’m having a blast reading and looking at everything.
Hi Brain, that sounds like a really neat setup, food for thought. Valid point on the post production, I admit the example there is way over the top. Its all to easy to get carried away sometimes, in any case since having my Mac pinched in Santiago Im now quite happy to shoot jpegs and leave them as they are.
Cheers
Paul
Hello Paul, thank you very much for sharing these useful tips and, in general, for your inspiring blog. We are following it during our trip from Bogota to Ushuaia! Greetings from the Cordillera Blanca and good luck with the Alpamayo project! Rafa & Eneida